How to Store Pee for a Drug Test? Best Practices & Tips
TL;DR: Storing urine for drug testing requires careful attention to temperature, container selection, and timing. Real urine degrades quickly due to bacterial growth and chemical changes. For short-term storage (under 24 hours), refrigeration at 36-46°F maintains sample integrity. For longer periods (up to 6 months), freezing at 0°F or below is necessary. Always use clean, airtight containers and stable temperatures. Synthetic urine is generally more stable and easier to store than real samples.
Urine doesn’t stay fresh. The moment it’s collected, bacteria start multiplying, pH levels begin to drift, and chemical compounds begin to break down. Leave a sample at room temperature for just 2 hours, and you’re already dealing with a fair amount of degradation.
Most people don’t realize how quickly this happens – or what actually needs to be done to prevent it. This guide walks through the real science of urine storage: the temperature thresholds that matter, the containers that work (and which ones don’t), and the specific timelines for refrigeration versus freezing.
Real urine and synthetic urine have different storage needs. We’ll cover both.
Quick Facts
✓ Maximum room temperature storage: 1-2 hours before bacterial growth accelerates
✓ Refrigeration extends viability: Up to 24-48 hours at 36-46°F (2-8°C)
✓ Freezing for long-term: Up to 6 months at 0°F (-18°C) or below
✓ Ideal submission temperature: 90-100°F (32-38°C) to mimic body temperature
✓ Container material matters: Medical-grade plastic or glass with airtight seals
✓ One-time thawing only: Never refreeze a thawed sample
Why (Real) Urine Degrades Over Time
Urine starts breaking down immediately after collection. Here’s what’s happening at the chemical level:
Bacterial Growth
Human urine naturally contains trace bacteria. At room temperature, these microorganisms multiply rapidly, breaking down urea into ammonia and causing pH to become more alkaline. This bacterial activity also produces compounds that weren’t originally present, potentially triggering false positives in certain tests.
Chemical Breakdown
Urea, the primary waste product in urine, is inherently unstable. Over time, it converts to ammonia through a process called hydrolysis. This chemical change alters the sample’s composition and can invalidate test results.
pH Drift
Fresh urine typically has a pH between 4.5 and 8.0. As bacteria proliferate and urea breaks down, the pH shifts toward alkaline (higher pH). Many drug tests include validity checks for pH, and samples outside the acceptable range may be rejected.
Temperature Impact
Heat accelerates all degradation processes. Each 10°C (18°F) increase in temperature roughly doubles the rate of chemical reactions. Conversely, cold temperatures slow these processes. This is why refrigeration and freezing are effective storage methods.
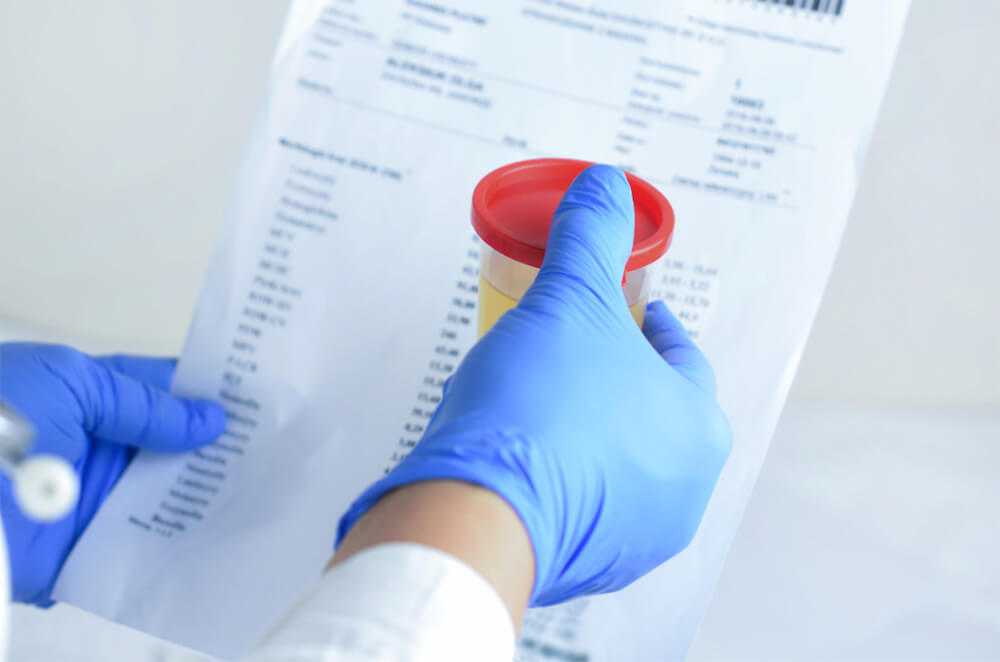
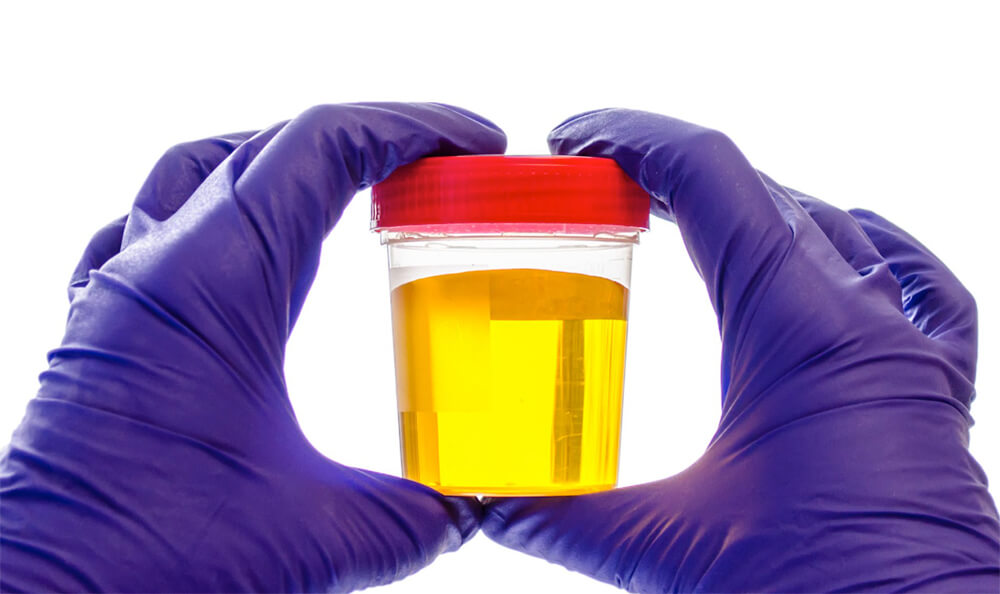
Container & Sealing Best Practices
The container matters more than most people think. Use the wrong one, and you’re introducing contamination, air exposure, or chemical leaching before you even start worrying about temperature.
Sterile Collection Containers
Always use containers specifically designed for biological samples. Medical-grade specimen cups are ideal because they’re:
- Pre-sterilized to prevent contamination
- Made from materials that won’t leach chemicals
- Designed with secure, leak-proof lids
- Often include temperature strips for monitoring
Material Selection: Glass vs. Plastic
Proper Sealing Techniques
Airtight seals aren’t optional. Oxygen exposure promotes bacterial growth and chemical oxidation. Follow these guidelines:
- Fill containers to near capacity, leaving minimal air space
- Ensure lids are screwed tightly or sealed completely
- For freezer storage, consider double-bagging to prevent freezer burn
- Label containers clearly with the collection date and time
Temperature Guidelines & Storage Durations

Temperature control is the single most important factor in preserving urine samples.
Here’s a detailed breakdown:
Room Temperature (68-77°F / 20-25°C)
Maximum duration: 1-2 hours
Use this method only when submitting the sample within 1-2 hours. Beyond this window, bacterial proliferation accelerates exponentially. This approach works for immediate transport scenarios where refrigeration isn’t available.
Body Temperature Storage (90-100°F / 32-38°C)
Maximum duration: 30-60 minutes
When you need to keep urine at body temperature for immediate testing, store it close to your body. Typically, in a sealed bag secured around your thigh or lower abdomen area. This maintains the 90-100°F range that testing facilities expect. However, this temperature also promotes rapid bacterial growth, so timing is critical.
Refrigeration (36-46°F / 2-8°C)
Maximum duration: 24-48 hours
Refrigeration significantly slows bacterial growth and chemical degradation. For samples that will be used within 1-2 days, this is the optimal method. Place the sealed container in the main refrigerator compartment—not the door, where temperature fluctuates more.
Freezing (0°F / -18°C or below)
Maximum duration: Up to 6 months
Freezing halts virtually all biological and chemical activity, making it ideal for long-term storage. However, proper technique is essential:
- Use freezer-safe containers (glass or heavy-duty plastic)
- Leave about 10% headspace for expansion during freezing
- Quick-freeze if possible (faster freezing creates smaller ice crystals, reducing cellular damage)
- Maintain constant freezer temperature—avoid manual defrost freezers with cycling
Maintaining Temperature During Transport & Handling
Moving a stored sample from one location to another presents challenges. Temperature fluctuations during transport can compromise sample integrity.
Insulation Methods
For refrigerated or frozen samples that must travel:
- Cooler bags with ice packs: Keep samples cold during short trips (under 2 hours)
- Thermal containers: Vacuum-insulated bottles maintain temperature for several hours
- Styrofoam containers: Budget-friendly insulation for transporting frozen samples
Body Heat Warming (For Submission)
If you’ve refrigerated or frozen a sample, you’ll need to warm it before submission. The most reliable method is using your body heat:
- Transfer the sample to a leak-proof bag or container
- Secure it against your skin (thigh area works well) using compression shorts or a leg strap
- Allow 30-45 minutes for warming from refrigerated temperatures
- Use temperature strips to verify it reaches 90-100°F
Warming & Submission Phase
When it’s time to use your stored sample, proper warming technique ensures it passes temperature checks.
Thawing Frozen Samples
The gentlest method is gradual thawing:
- Refrigerator thawing: Move the frozen sample to the refrigerator 12-24 hours before needed. This slow thaw minimizes stress on the sample.
- Room temperature thawing: For faster results (2-4 hours), place the sealed container in a room-temperature environment. Never leave it in direct sunlight.
- Water bath thawing: Submerge the sealed container in lukewarm water (not hot) for 15-30 minutes. This speeds the process while maintaining control.
The Microwave Controversy
Many sources mention microwaving urine for quick warming. While this works in theory, it’s risky:
- Uneven heating: Microwaves create hot spots that can denature proteins and alter chemical structure
- Overheating risk: Exceeding 110°F can damage temperature-sensitive compounds
- Container melting: Not all plastics are microwave-safe
If you must use a microwave, follow these precautions:
- Use 5-second intervals at 50% power
- Shake gently between intervals to distribute heat
- Check temperature frequently with a thermometer strip
- Never exceed 100°F
Final Temperature Check
Before submission, verify temperature falls within the acceptable 90-100°F range. Most testing facilities check temperature immediately upon receipt. Samples outside this range raise red flags and may be rejected.
Gentle Mixing
After thawing or warming, gently swirl (don’t shake vigorously) the container. This redistributes any settled particles without creating bubbles that could appear suspicious. Real urine typically has some mild turbidity but shouldn’t be foamy.
How Long Can You Store Urine Samples?
The viability window depends entirely on storage conditions. Here’s what research and laboratory practice tell us:
Under Ideal Conditions
Signs of Sample Degradation
Even with proper storage, samples can deteriorate. Watch for these indicators:
- Color changes: Darkening suggests oxidation and chemical breakdown
- Cloudiness: Increased turbidity indicates bacterial growth or precipitation
- Foul odor: Strong ammonia smell means urea has broken down
- Visible particles: Crystals or sediment suggest chemical instability
- pH out of range: Use test strips to check; normal range is 4.5-8.0
Laboratory Standards
Clinical laboratories have strict protocols for sample handling:
- Most prefer samples tested within 2 hours of collection
- Refrigerated samples are generally acceptable up to 24 hours
- Frozen samples require documentation of collection date and freeze date
- Samples showing visible degradation are typically rejected
What NOT to Do / Common Mistakes
Avoid these frequent errors that compromise sample quality:
❌ Leaving at Room Temperature Too Long
This is the #1 mistake. Within 2 hours at room temperature, bacterial counts can increase 10-fold. pH rises, glucose levels drop (bacteria consume it), and drug metabolites may degrade.
❌ Rapid Temperature Changes
Shocking a sample with extreme temperature swings stresses the chemical composition. Don’t move directly from freezer to hot water, or from refrigerator to microwave without gradual transitions.
❌ Opening Containers Repeatedly
Each time you open a container, you introduce:
- Airborne bacteria
- Moisture from breath and ambient humidity
- Temperature fluctuations
- Contamination risk from hands or surfaces
❌ Refreezing Thawed Samples
As mentioned earlier, freeze-thaw cycles damage samples irreversibly. Once thawed, use the sample or discard it.
❌ Using Contaminated Containers
If reusing containers, sterilize them thoroughly:
- Wash with antibacterial soap
- Rinse with distilled water (tap water contains minerals and chemicals)
- Air dry completely or use sterile wipes
- Sterilize with rubbing alcohol and allow to dry
❌ Adding Substances to “Preserve” Urine
Some people add salt, vinegar, or other household items, thinking it will preserve samples. This:
- Alters pH and specific gravity
- Introduces detectable adulterants
- May trigger validity testing failures
- Could indicate tampering to the testing facilities
❌ Storing Near Food Items Without Clear Labeling
This creates health hazards. Always label biological samples clearly and store them in sealed secondary containers when sharing refrigerator space.
Synthetic Urine – Storage & Differences
Synthetic urine products like Quick Fix are chemically stable in ways real urine isn’t. No bacteria, no cells, no biological breakdown. That changes everything about storage.
What Is Synthetic Urine?
Synthetic urine is a laboratory-formulated liquid designed to replicate the chemical and physical properties of human urine. Quality products contain:
- Urea and uric acid: Primary waste products found in real urine
- Creatinine: Metabolic byproduct used to verify sample authenticity
- Balanced pH: Typically 6.0-7.5 to match normal human range
- Correct specific gravity: 1.005-1.030, indicating proper dilution
- Appropriate color and appearance: Yellow tint from uric acid
Storage Advantages of Synthetic Urine
Recommended Storage for Synthetic Urine
Follow manufacturer guidelines, but general principles include:
Unopened Bottles
- Store at room temperature (65-75°F) away from direct sunlight
- Shelf life typically 1-2 years from manufacture date
- Check expiration date on packaging
- Keep in original packaging until use
Opened Bottles
- Refrigeration optional but can extend usability
- Seal tightly to prevent evaporation and contamination
- Use within 6-8 months for best results
Temperature Requirements for Use
Like real urine, synthetic urine must be warmed to body temperature (90-100°F) before submission. Methods include:
- Heating pads: Most synthetic urine kits include adhesive warmers that activate when exposed to air. These maintain temperature for 6-8 hours.
- Microwave warming: Heat for 10-15 seconds (depending on volume), checking temperature frequently to avoid overheating.
- Body heat: Secure the container against your body 45-60 minutes before needed.
Freezing During Transit
Synthetic urine may occasionally freeze during transport. This does not typically affect the formula. If freezing occurs, allow the bottle to thaw naturally at room temperature and shake gently before warming.
Do’s and Don’ts for Synthetic Urine Storage
✅ DO:
- Store unopened bottles in a cool, dark place
- Keep away from prolonged extreme heat.
- Check expiration dates before purchasing
- Follow the manufacturer’s warming instructions precisely
- Use temperature strips to verify 90-100°F before submission
❌ DON’T:
- Store in direct sunlight or hot vehicles
- Mix batches from different bottles
- Add water or other substances to “stretch” the product
- Reuse synthetic urine that’s been opened and warmed previously
Simple Tips & Methods for Storing Urine (Real or Synthetic)

Here’s a quick-reference summary of best practices:
For Real Urine
- Immediate use (1-2 hours): Room temperature in sealed container; body heat storage if keeping warm
- Next-day use (24-48 hours): Refrigerate immediately at 36-46°F
- Long-term storage (weeks to months): Freeze at 0°F or below in freezer-safe container
- Always use: Sterile, airtight containers clearly labeled with date
- Warming method: Gradual thawing + body heat or heating pad; avoid microwaving
For Synthetic Urine
- Unopened storage: Room temperature, dark location, check expiration date
- Opened storage: Seal tightly, optional refrigeration, use within 6-8 months
- Warming method: Heating pad (preferred), microwave (cautiously), or body heat
- Temperature verification: Always use a temperature strip to confirm 90-100°F
General Hygiene & Safety
- Treat all urine samples as biohazardous materials
- Wash your hands thoroughly before and after handling
- Use gloves when collecting or transferring samples
- Clean all surfaces that contact urine with disinfectant
- Store samples away from food, beverages, and medications
- Dispose of used samples properly-not down kitchen sinks
The Bottom Line on Urine Storage
Properly storing urine comes down to temperature control and timing. Real urine degrades fast – refrigerate it for next-day use, freeze it for longer storage, but know that even perfect conditions can’t stop degradation completely. The shorter the storage window, the better your results.
Synthetic urine skips most of these issues. It stays stable for years at room temperature and doesn’t break down from bacterial growth. Just store it in a cool, dark place and warm it to body temperature when needed.
Need a reliable option? Check out our Quick Fix product line.
Frequently Asked Questions
How long is pee good for in the fridge?
Refrigerated urine remains viable for drug testing for approximately 24-48 hours when stored at 36-46°F (2-8°C). After this period, bacterial growth and chemical changes may affect test accuracy. For best results, use refrigerated samples within 24 hours and ensure the container is sealed and sterile.4
Can you freeze urine for a drug test?
Yes, freezing urine at 0°F (-18°C) or below can preserve it for up to 6 months. However, you must use freezer-safe containers with expansion space, avoid repeated freeze-thaw cycles, and thaw gradually before use. Quick freezing minimizes ice crystal damage. Never refreeze a previously thawed sample.
How long does pee last in a pill bottle?
In a standard pill bottle at room temperature, urine remains usable for only 1-2 hours before significant bacterial growth occurs. Pill bottles aren’t ideal storage containers because they may not be sterile and often lack airtight seals. For short-term storage, refrigerate immediately. For storage beyond 48 hours, freezing in a proper container is necessary.
Can I store urine at room temperature overnight?
No. Storing urine at room temperature overnight (8-12 hours) allows extensive bacterial multiplication and chemical degradation. The sample will likely show altered pH, increased ammonia levels, and potentially invalid test results. Always refrigerate if storage extends beyond 2 hours, or freeze for longer-term needs.
How to preserve urine for a future drug test?
For preservation longer than 48 hours, freezing is the only reliable method. Use these steps: (1) Collect in sterile container, (2) Fill, leaving 10% headspace for expansion, (3) Label with date, (4) Freeze immediately at 0°F or below, (5) Store for maximum 6 months, (6) Thaw gradually in refrigerator when needed, (7) Warm to body temperature before use.
References
- National Health Service (NHS). “How should I collect and store a urine sample?” NHS Common Health Questions. Accessed January 2026. https://www.nhs.uk/common-health-questions/infections/how-should-i-collect-and-store-a-urine-sample/
- Kouri T, et al. “Stability of urine specimens for determination of drug metabolites.” Journal of Clinical Laboratory Analysis. 1990;4(5):299-303. DOI: 10.1002/jcla.1860040503
- Strasinger SK, Di Lorenzo MS. “Urinalysis and Body Fluids, 5th Edition.” F.A. Davis Company. 2008. Chapter on specimen handling and preservation.
- Clinical and Laboratory Standards Institute (CLSI). “Urinalysis; Approved Guideline, Third Edition.” CLSI document GP16-A3. Wayne, PA: Clinical and Laboratory Standards Institute; 2009.
- Spectrum Labs. “Quick Fix Synthetic Urine Storage Guidelines.” Product documentation. 2025. https://www.quickfixsynthetic.com
Disclaimer: Quick Fix Synthetic Urine is intended for simulation, calibration, and novelty use only. This article discusses shelf life and storage for general informational purposes and does not promote unlawful activity.
Related Articles


Disclaimer: This article is for educational purposes only. It is not intended to be legal advice. The use of these products may be subject to local and state laws.


