 How to Guides
Everything You Need to Know About Hair Test
You did all the hard work of detoxing to ensure your urine is clean only to find out you have to give them a hair…

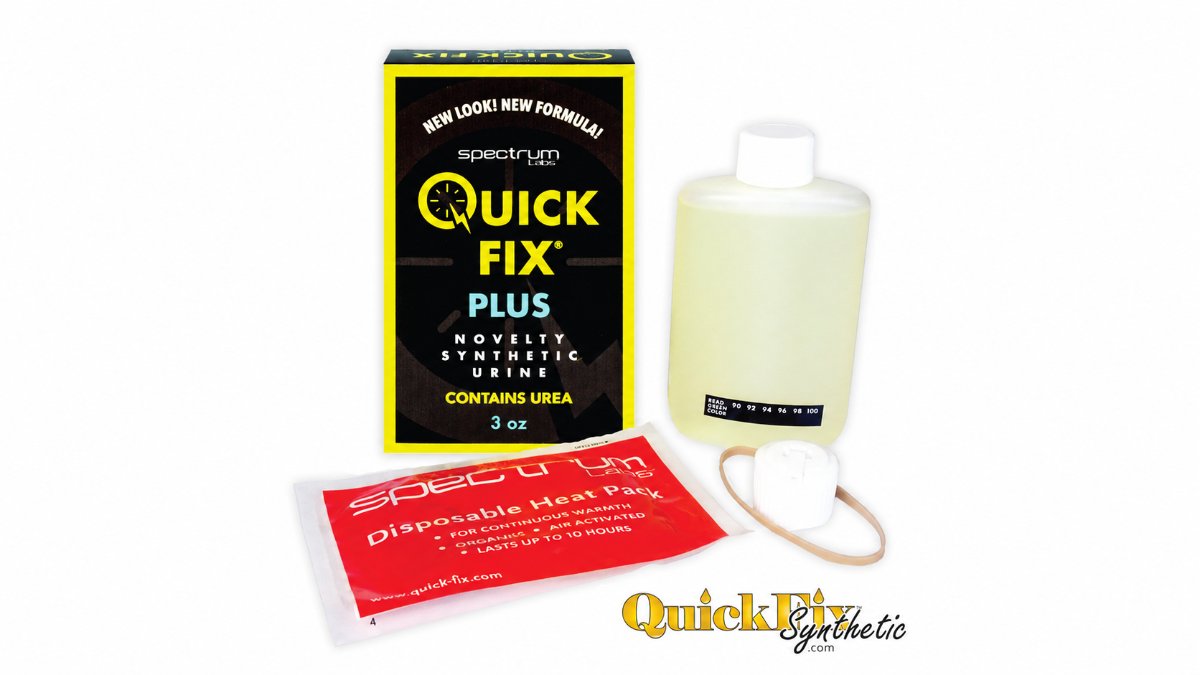
The Quick Fix fake pee kit is remarkably simple to use, but if you have never used a product of this nature before, you might feel a little nervous about the process. There really is no need to feel even the slightest angst or confusion – you could almost use this stuff blindfolded.
Most of the worry around how to use synthetic urine (at least, in terms of new users who haven’t read the instructions) comes from not knowing the sequence involved. Once you have the order in your head, everything becomes seamless and mechanical, and Quick Fix is built to make each step quite easy to grasp.
The following synthetic urine instructions cover the complete process for the current Quick Fix 6.4 formula – from the checks you run before heating through to the moment you transfer the sample – and they apply whether you bought the 2oz kit, the 3oz Plus, or the Pro Belt Kit.

Before we get to the Quick Fix instructions, let’s take a quick look at what you are getting for your money. A standard 2oz Quick Fix kit gives you everything the process needs, with nothing to mix or add, including:
That ready-made quality is part of why the brand has held such a good reputation on various review and commentary sites for more than twenty-five years. You just open the box and the formula is ready to go, which is exactly what you want from a fake pee kit when the pressure is against you. Because who needs to run around last minute finding temperature strips and heating packs for a low quality imported product?
The 3oz Quick Fix Plus kit works in exactly the same way, and the Quick Fix Plus instructions are identical to the standard version. The only difference is an extra ounce of the same 6.4 formula, which gives you more margin if a collection container needs a fuller sample.
The Pro Belt Kit steps up to 4oz with an integrated strap and dispensing tube, so it changes how you carry the sample rather than how you prepare it.
Whichever fake pee kit you have, the Quick Fix instructions below stay the same, regardless of which sized bottle you go for. Either way, learning how to use fake pee is simple, quick, and accomplished in a few short steps.
Before you heat anything, give the kit a quick once-over. While not really essential, it certainly won’t hurt, and it could prevent problems later.
Three things are worth confirming, preferably on the morning that you actually need the sample:
Temperature is the part that decides whether synthetic urine looks right, so this step deserves proper attention. If there is one section of any guide on how to use Quick Fix urine that rewards care, it is this one.
Quick Fix gives you two heating methods, and they are co-equal rather than one being a backup for the other. Pick the one that suits your timing.
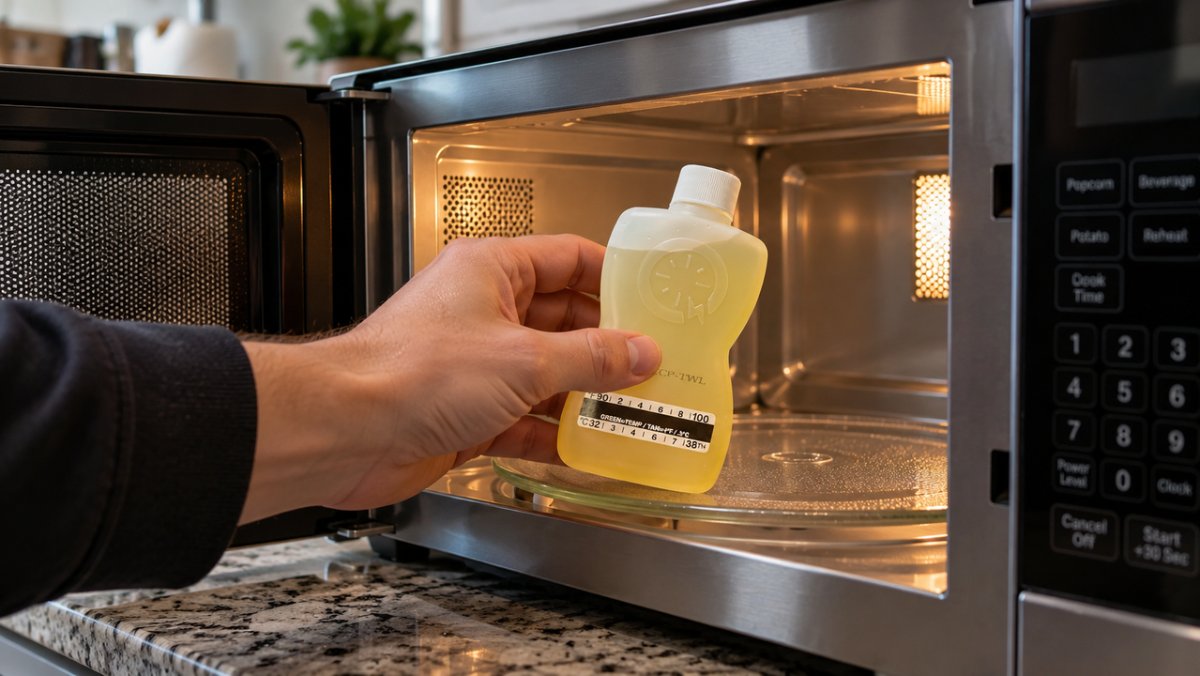
Then read what the strip tells you:
Keep those bursts short, because overshooting is far easier to cause than to undo.

The pad reaches temperature more slowly, but it keeps supplying warmth for hours afterward, which makes it the better option when there is a gap between preparing the sample and using it.
ℹ️ Need a more comprehensive breakdown of timings? Our Quick Fix heating guide covers both methods in more detail. Either way, the target never changes: a strip that reads green in the valid band.
Once the sample is at temperature, your job is to keep it there, and your own body is the most reliable tool for that. Carrying the bottle close to your skin is not only about discretion, though – it is how you hold the warmth between preparation and use.
Leave the heating pad attached while you carry, since it keeps feeding heat into the liquid rather than letting it drift back toward room temperature.
But how to use Quick Fix urine on the move? It really depends a little on the kit and the clothing. Common carry positions include the following:
If you prefer a purpose-built concealment option, the Quick Hide pocket underwear is designed to hold a bottle snugly against the body. Whatever you choose, treat the carry as part of your temperature strategy rather than an afterthought, and glance at the strip before you go in.
Knowing how to use Quick Fix urine well is as much about this carrying stage as it is about the heating.
Right before you need the sample, run one last temperature check. Of all the Quick Fix urine instructions in this guide, this is the single habit that catches almost every problem before it becomes one. The strip tells you which way to correct:
When the reading is green, you are ready. Give the bottle a gentle shake so a little foam forms on the surface, which mirrors the natural appearance of a fresh sample, then transfer the liquid into the collection container. Hand it over promptly and without fuss.
There really is nothing to worry about once the transfer is done, so following these Quick Fix fake pee instructions is simply a matter of staying unhurried, unflappable, and methodical. Again, this product is extremely simple to use, so take your time, be methodical, and don’t worry.
You might find it interesting to know what a laboratory actually examines, because Quick Fix 6.4 is formulated around certain markers that they are looking for. In total, modern validity checks look at five things, and the current formula is calibrated to each, including:
An earlier generation of synthetic products left urea and uric acid as optional extras, but the 6.4 formula includes them as standard, which is one of the reasons it holds up to the chemical side of a validity check rather than only the visual one.
This also explains why so much of the preparation relates to temperature rather than pure chemistry. The formula already handles the markers, so your job is the one thing the bottle cannot do for you.
Guidance from bodies such as SAMHSA sets out which markers define a valid specimen, and Quick Fix is designed against that benchmark rather than left to chance.¹
If you take one piece of advice from these synthetic urine instructions, let it be this: run the whole process at home once before it counts. Heat a sample, confirm the strip, then carry it in the clothing you plan to wear for forty-five minutes or so and check the strip again at the end.
A practice run costs you a single Quick Fix heating pad and removes the one potential hiccup that trips some people up, which is uncertainty about temperature under real conditions. Through the test run, you will learn how your body holds the warmth, how your clothing sits, and how the strip behaves over time.
Used correctly, Quick Fix 6.4 carries the same chemical markers that a validity check looks for, from creatinine and pH through to urea and uric acid, so the formula itself is doing the work for you. Your only responsibility is temperature, which is the one aspect of this process firmly in your hands from the moment you open the kit to the moment you transfer the sample.
Remember, just follow the four steps in order and the process couldn’t be easier.
Again, for anyone deciding between Quick Fix Plus synthetic urine or the standard 2oz kit, the sequence is identical. People often ask about Quick Fix Plus in terms of how to use it differently, but the answer is that you do not, since the Quick Fix 3oz Plus formula simply gives you a little more volume to work with.
Prepare carefully, rehearse once, and you can approach the whole thing with quiet confidence.
Disclaimer: This content is for informational and educational purposes only. Quick Fix Synthetic does not condone or encourage the use of our products to defraud legally mandated drug tests. Please consult your local and state laws before use.
Yes, and it is a small detail worth getting right. Attach the pad to the opposite side from the temperature strip. That way the strip stays visible and readable throughout, and the pad is not sitting over it or skewing what you see. You want to be able to glance at the reading at any point without peeling anything away.
No. Quick Fix is specifically a urine substitute and is formulated only for that purpose. It has no relevance to hair, blood, or saliva testing, which examine entirely different sample types. If your situation involves one of those, synthetic urine is not the product for it.
Stay calm and composed. There are no guaranteed outcomes in any scenario, and the best thing you can do is avoid drawing attention through nervous behavior. Preparation is your strongest position here, which is exactly why the temperature checks and the practice run earlier in this guide carry so much weight.
Generally yes, provided it has been kept at room temperature, away from direct sunlight, and remains within its two-year shelf life. Check the batch number and the expiration date before you use it. A kit stored sensibly will keep its chemical properties across that full window, so an older but in-date bottle is perfectly usable.
 How to Guides
You did all the hard work of detoxing to ensure your urine is clean only to find out you have to give them a hair…
 How to Guides
You just received your Quick Fix Synthetic Urine in the mail and need to use it soon, or maybe even at this very momen
 How to Guides
If you are reading this, you already know what synthetic urine is and why you would use it. But let’s answer the question at hand.


